


DS-1259ZJ(Black)


 Opis
Opis
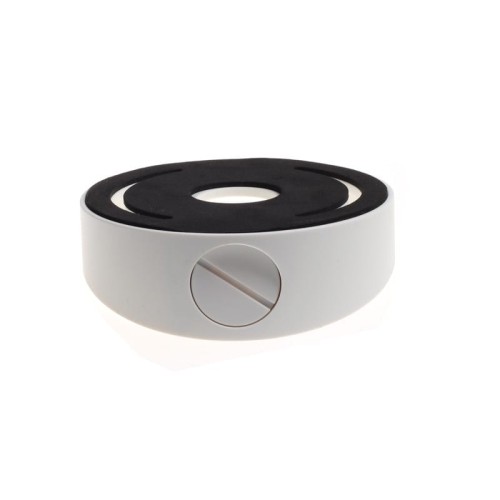
Adapter Hikvision z tworzywa sztucznego umożliwiajacy pochylenie kamery względem płaszczyzny sufitu przeznaczony do zamocowania kamer: serii DS-2CD21xx, DS-2CD2132-I i DS-2CC51D3S-VPIR. Wymiary śr.101x39mm. Do zastosowania wewnątrz obiektu. Wymiary: śr.111x39.2mm. Waga około 200g. Kolor czarny....
Gwarancja: 36 mies.
Karta katalogowa 
Tekstowa zawartość karty katalogowej PDF:
DS-1259ZJ
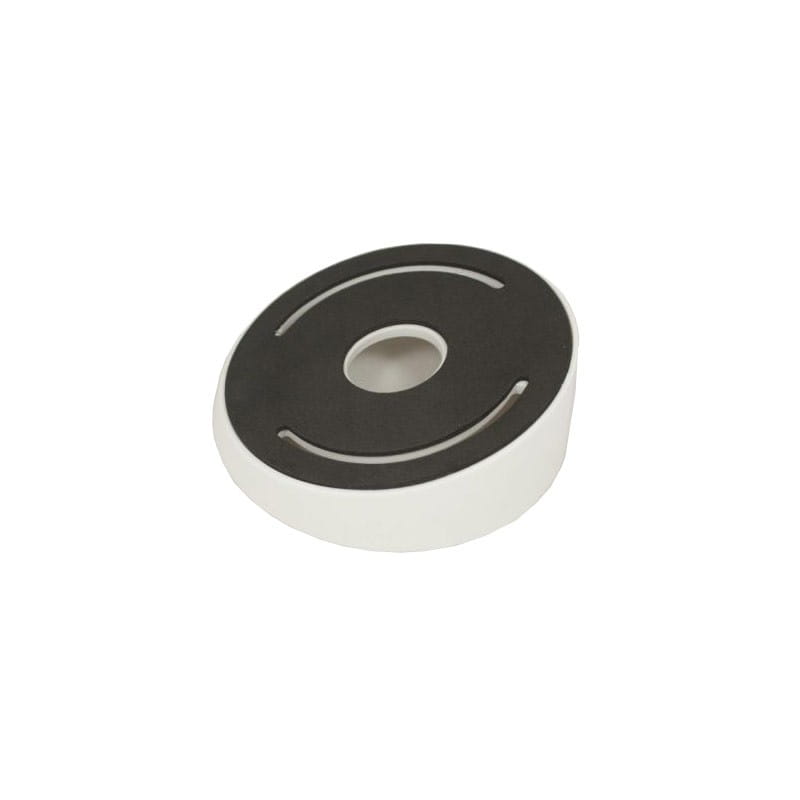
Inclined ceiling mount for DS-2CD21XX dome camera
Features:
Good toughness and strength
Beautiful design with wire outlet hole
Coordination with small and nice appearance
Angle of elevation is increased by 15°
Dimension:
Order model:
DS-1259ZJ
Parameters:
Model
Parameters
DS-1259ZJ
Suitable for DS-2CD21XX series dome cameras
Color Hik white
Feature Suitable for DS-2CD21XX series dome cameras
Angle of elevation is increased by 15°
Material ABS+PC
Dimension Φ111x39.2mm(Φ4.37’’x1.54’’)
Weight 200g(0.44lbs)
Notice:
This bracket is only for DS-2CD21XX series dome camera
Pay attention to the application range when select bracket
Pay attention to the color matching when select bracket
The bracket should be installed on flat wall
The wall must be capable of supporting more than 3 times the total load of
the camera and the mount.
The maximum load capacity of the mount is 2.0KG
Installation steps:
① Select suitable wall to install the bracket ② Loosen the tightening screw and take down ③ Install the dome core to the gang box,
and wire. the housing. wire and lock the screw.
② Adjust the angle through the 3-axis adjustment ⑤ Install the housing and lock the screws. ⑥ Finish the installation.
structure.
Remark: Appearance of Installation steps is for reference only